GUA SHA FACIALS
The Ancient, Painless Facelift
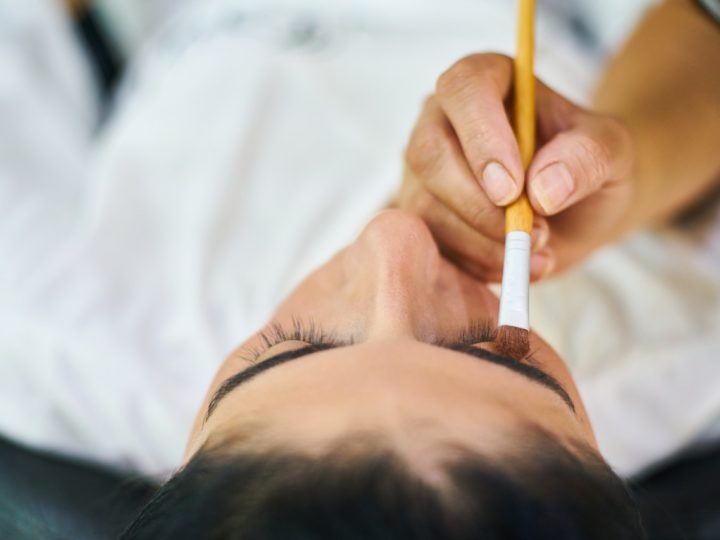
Looking for an easy, at-home facial designed to mimic the results of a facelift? Gua sha facials might do the trick. Fair warning, whatever you do, don’t search “gua sha pictures” online. You’ll find images of bright red, bruised backs and will likely be very afraid of getting anywhere near a gua sha tool. Traditional gua sha and gua sha facials are two very different practices.
Traditional gua sha is one of the most ancient practices of Traditional Chinese Medicine and is sometimes prescribed as part of a course of treatment for a variety of different ailments. On the other hand, gua sha facials are are much more gentle and designed to lift and sculpt the face and revitalize the skin. You shouldn’t experience any bruising, though more sensitive skin may be slightly pink for a few minutes from all the stimulation. The best part of a gua sha facial is that with the use of one simple tool and a bit of practice, you can have a facial at home or on the road.
How to Do At-Home Gua Sha Facials
For a full gua sha facial experience, visit a TCM practitioner or facialist who is certified in gua sha facials. If you want the daily glow up of a gua sha facial at-home, follow these seven easy steps:
- To begin, start with a freshly cleaned face. Apply your favorite facial oil or moisturizer all over the face and neck.
- Take the flat edge of your gua sha tool and stroke upwards from the tip of your shoulder to the point where your jaw and ear meet. This follows the natural line of your arm to your neck and up the ear. Repeat five times on each side.
- Next, you’ll move to the neck and throat. You’ll do three sections, right, left, and middle. Stroke in upward motions five times each area.
- As you continue working up the face, you’ll next focus on the jawline. You position the notched edge of your gua sha tool so that the middle of your chin it nestled inside. Stroke up towards your ear on the right side five times and then switch sides.
- Switch back to the flat side of your tool and turn your attention on the cheeks, under your cheekbones. Starting at the edge of your mouth, smooth the skin in a slightly sloped motion up to the ear. Repeat five times on each side of your face.
- The final step is your forehead. This part of your face has less skin and fat, so be sure to be gentle in your application of pressure. You’ll start in the center of the forehead and swipe up and out towards the hairline. Repeat five times over each eyebrow.
- Once your gua sha facial experience is complete, make sure you clean your gua sha tool thoroughly with soap and hot water.
Benefits of Gua Sha Facials
Debating adding this TCM-inspired practice to your skincare routine? If you’re looking for a practice that firms, revives, and provides a youthful glow, gua sha might be a good option. A study on gua sha found that the practice can increase microcirculation (circulation in a specific isolated area) by up to four times the normal amount. This active, daily increase in circulation in the face can help skin look fresh, full, and give you a healthy glow.
The scraping motions of gua sha are said to act as a means of strengthening the muscles. Supposedly this helps contour the jawline and tighten the appearance of skin, essential giving you a natural version of a botox injection or facelift. While the results may not be as immediate as one of those procedures, users of gua sha have noticed improvements in their skin with consistent use.
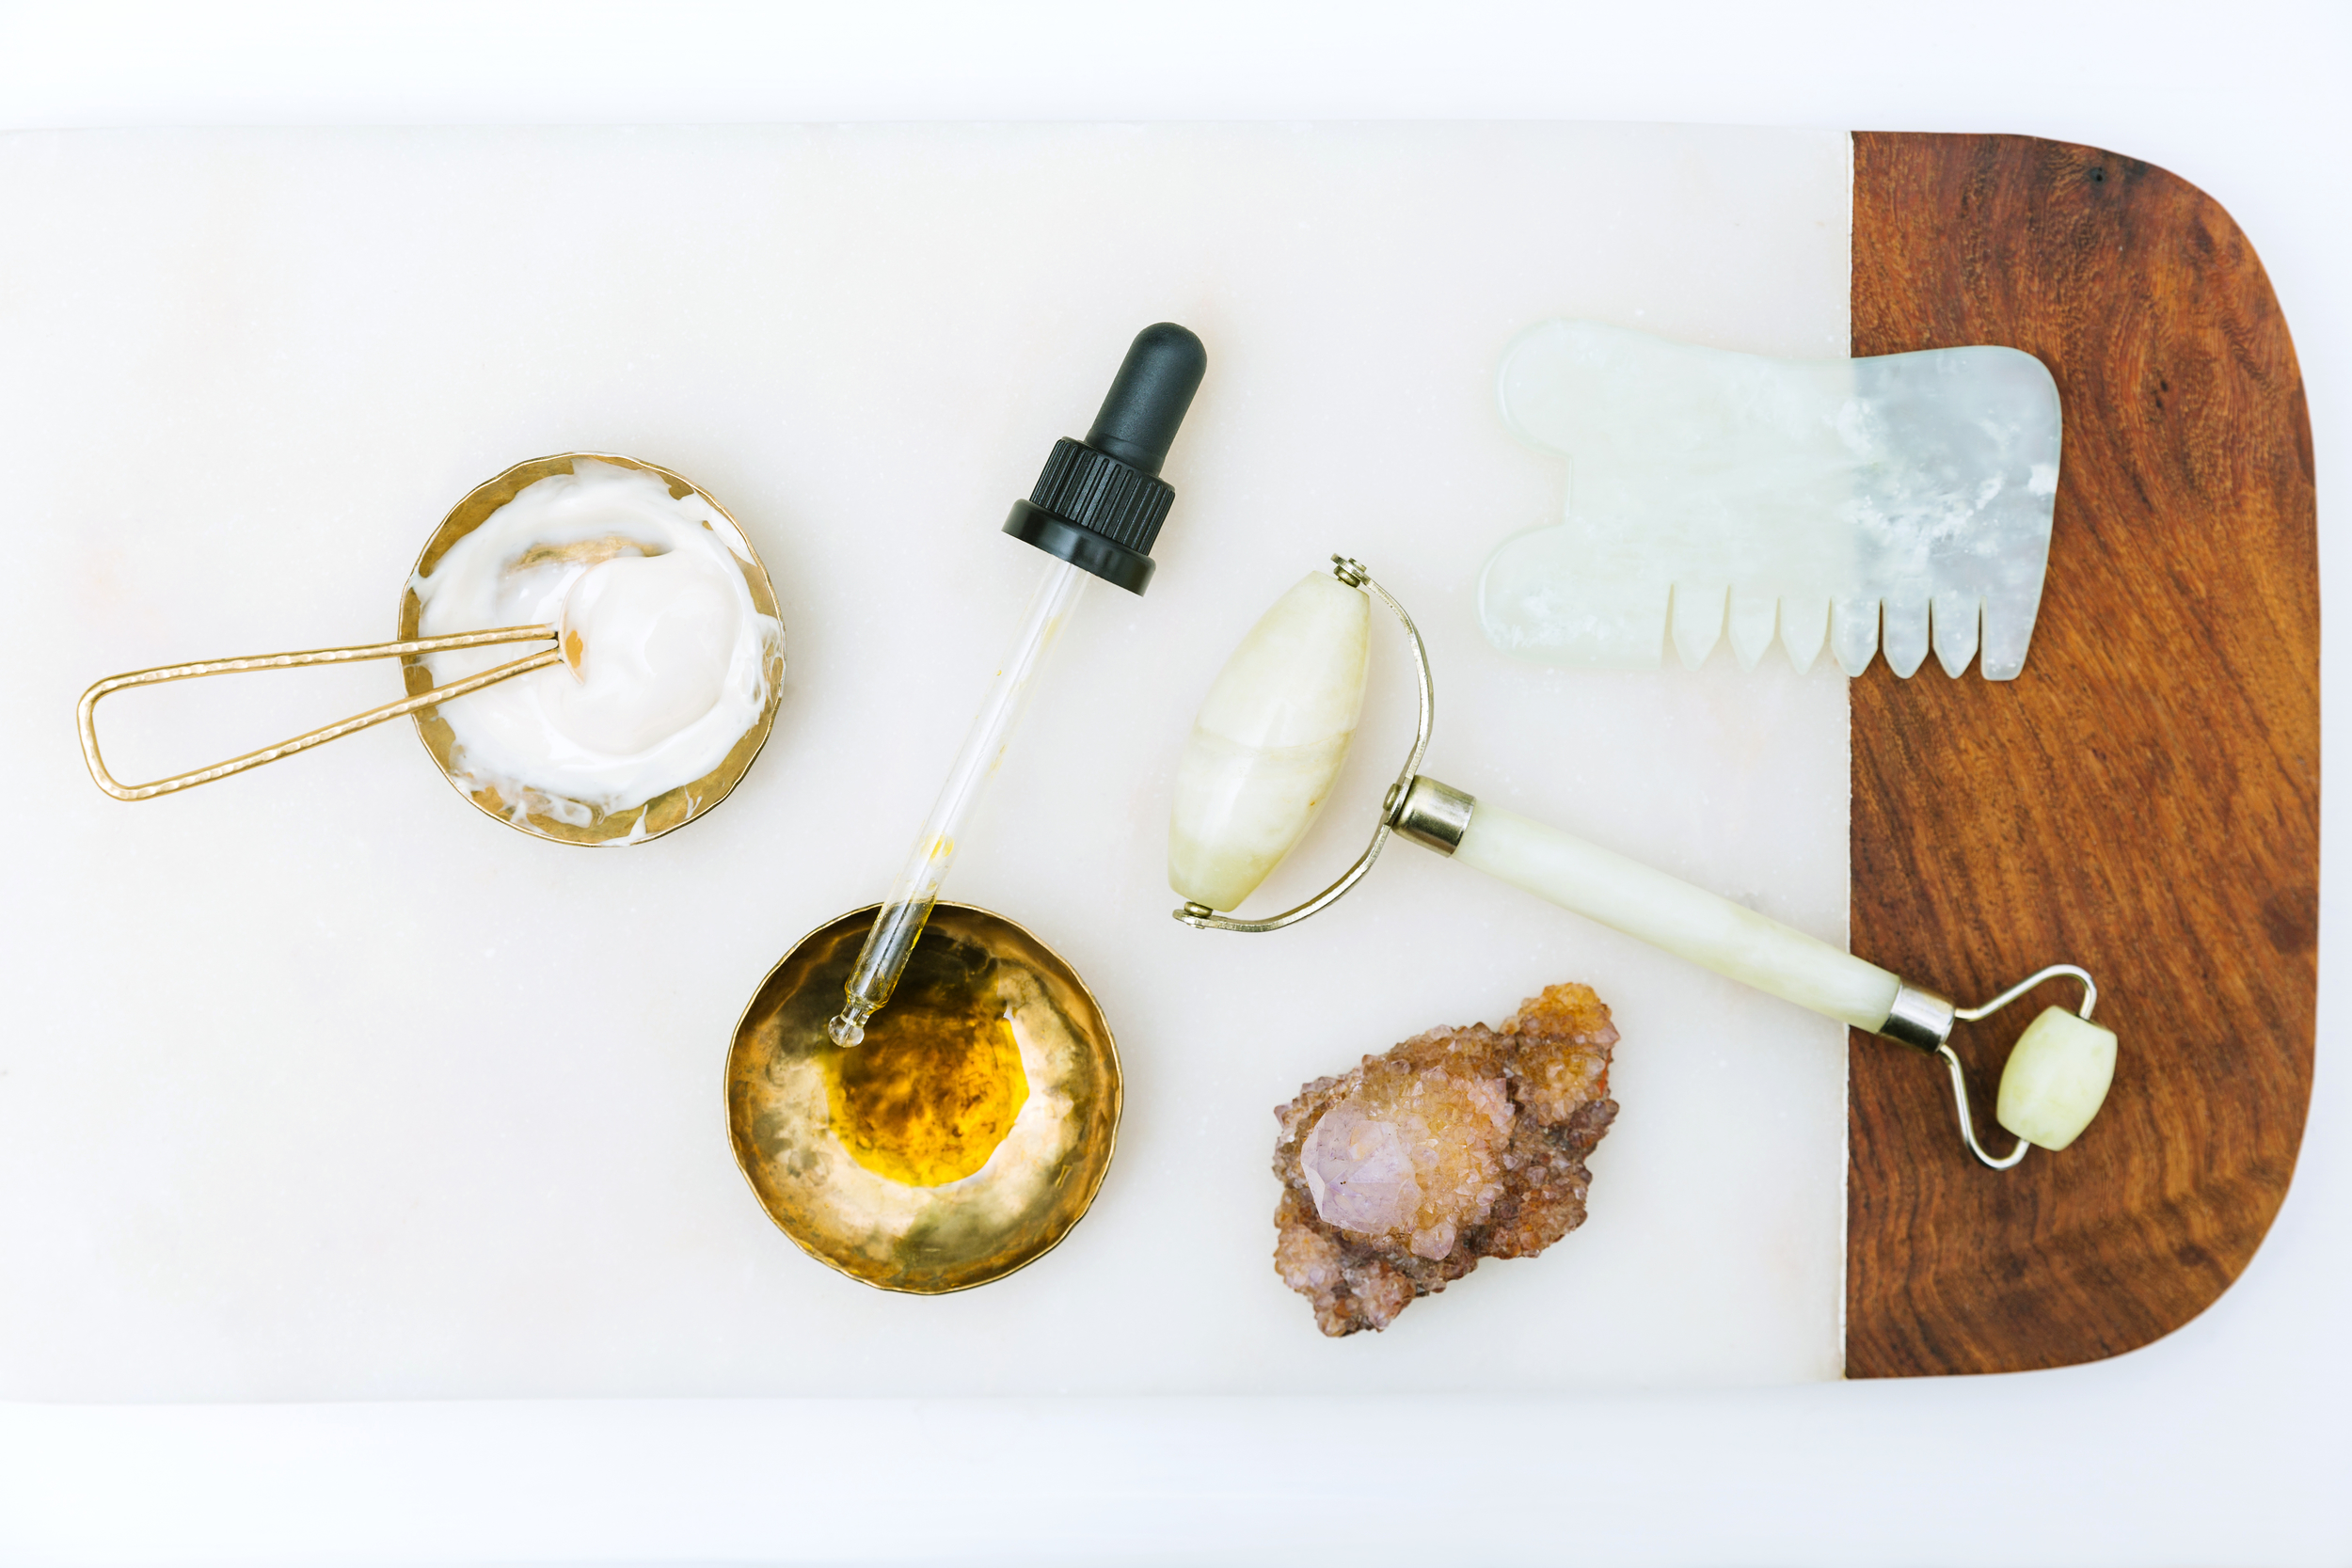
How to Pick the Right Gua Sha Tool
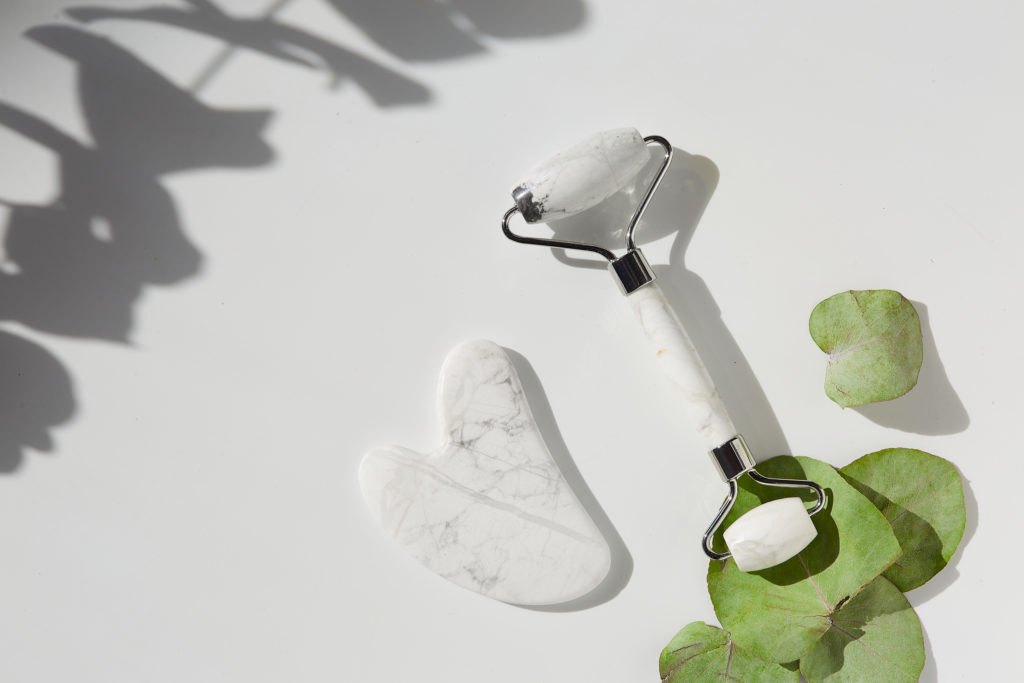 There’s no one-size-fits-all choice for gua sha tools. You can find them in different shapes, colors, and styles. The tools are often curved on some sides, flat on others, and can contain divets and indentations. Others are smooth on all four sides. Some more modern styles of gua sha tools even look like hearts! The more complicated-looking your gua sha tool is, the more likely it is designed to achieve several specific goals like reaching under the eyes or the back of the neck. Be sure to do your research and ask for professional advice when needed.
To follow the traditional TCM practice, the gua sha tool should be made from pure jade, but rose quartz has become another popular option. Jade is known to contain innate healing powers that balance energy, and the stone is said to pull on the skin a bit more than its quartz counterpart. Rose quartz is great for sensitive skin and was praised by the Ancient Egyptians for it’s cooling, anti-wrinkle properties. Whichever stone you select, it’s important to make sure that the stone is real to avoid and fake materials that could irritate your skin.
Where Did Gua Sha Come From?
Gua sha originated in ancient China as a practice of Traditional Chinese Medicine. Though the first documented practice of gua sha was during the Ming Dynasty (1368 to 1644), most believe it’s been around for far longer. In Chinese, “gua” means “scraping” due to the deep pushing and pulling movement of the gua sha tool across the skin. The meaning of “sha” is loosely translated to represent both the bruising marks that appear as well as the stagnant blood, or qi, that’s likely causing the health problems.
Similar to the practice of cupping, gua sha is designed to use pressure and motion to relieve pain and tension in the body as well as treat internal illnesses. It just also happens to leave behind some pretty intense looking bruises. Gua sha can be used for treating colds, flus, fluid build ups in the lungs, intense pains, boosting the immune system, detox the body, and break fevers.
Do you swear by the gua sha facial? Share your experience with us!
Newer
Try These Chinese Superfoods for Beautiful, Radiant Skin
Older
Want That Summer Glow Year Round? Here's How
Comments (0)
Leave a reply
You must be logged in to post a comment.